, it’s only natural to want to share it. Some might remember when Heroku’s free tier made it possible to deploy apps instantly with almost no effort. That era is long gone, and the options for showcasing simple ML apps have become much more limited.
Why bother showcasing an app in the first place? The reasons are plenty. Putting your work out there allows you to gather real feedback from people who actually try it, which is far more valuable than keeping it to yourself. It also gives you the chance to build a portfolio that speaks louder than any CV. Sharing your app also opens doors for collaboration, helps you test whether your ideas solve real problems, and even creates opportunities you wouldn’t expect. Showcasing your work is about learning, improving, and building credibility.
If you’re looking to put your work online or build a small project portfolio, Hugging Face Spaces is one of the best places to start. It’s free, simple to use, and lets you deploy machine learning apps. You can spin up any kind of demo you want and share it with others in minutes.
There’s already a huge collection of apps running on Spaces, covering everything from text and image models to full interactive tools. Browsing through them at huggingface.co/spaces gives you a sense of what’s possible and plenty of inspiration for your own projects.
In this blog post, I’ll walk you through a short tutorial on how to deploy your own Hugging Face Space. The goal is to show just how simple it can be to take a project from your local machine and make it accessible to anyone online.
Creating your Account
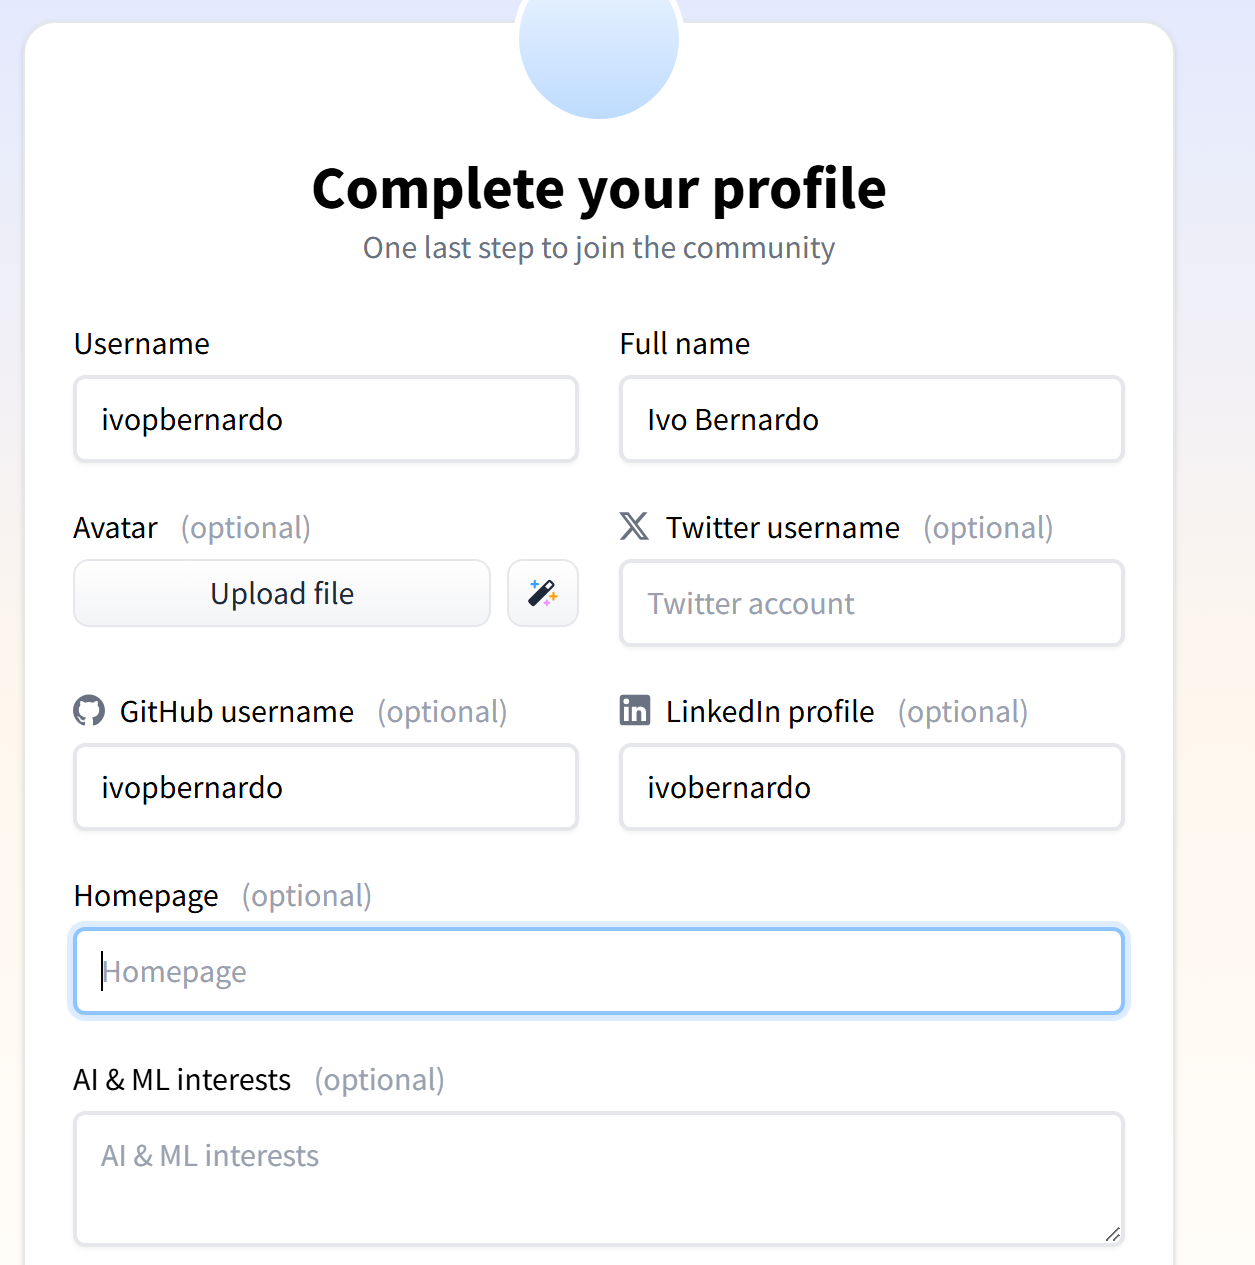
First, you need to create an account on Hugging Face:
Alright, now let’s head over to Hugging Face Spaces. This is where everything happens and you’ll set up your environment, choose the framework you want to work with, and start building the app you want to share.
Head over to Spaces on the menu:

Here you can explore countless apps built by other users – and this is also where our own app will appear once it’s deployed. For now, though, we’ll step away from Hugging Face, since we still need to build the app we plan to deploy.
Creating the app Locally
On my computer, I’ll start by setting up a local version of a simple Streamlit app that visualizes financial data for any stock. To keep things straightforward, the entire app will live in a single file called app.py.
This minimal setup makes it easy to follow along and focus on the essentials before we move on to deploying it.
import streamlit as st
import yfinance as yf
import plotly.express as px
import pandas as pd

st.set_page_config(page_title="Company Financials", layout="wide")
st.title("Company Financial Dashboard")

ticker_input = st.text_input("Enter Stock Ticker")

# Choosing financial report type
report_type = st.selectbox("Select Financial Report",
                           ["Balance Sheet", "Income Statement", "Cash Flow"])

if ticker_input:
    try:
        ticker = yf.Ticker(ticker_input)

        if report_type == "Balance Sheet":
            df = ticker.balance_sheet
        elif report_type == "Income Statement":
            df = ticker.financials
        else:
            df = ticker.cashflow

        if df.empty:
            st.warning("No financial data available for this selection.")
        else:
            st.subheader(f"{report_type} for {ticker_input.upper()}")
            st.dataframe(df, use_container_width=True)

            df_plot = pd.DataFrame(
                df.T,
                pd.to_datetime(df.T.index)
            )
            metric = st.selectbox("Select Metric to Visualize",
                                  df_plot.columns)

            if metric:
                fig = px.line(
                    df_plot,
                    x=df_plot.index,
                    y=metric,
                    title=f"{metric}",
                    markers=True,
                    labels={metric: metric, "index": "Date"}
                )
                st.plotly_chart(fig, use_container_width=True)

    except Exception as e:
        st.error(f"Error: {e}")
Let’s see this streamlit app locally:
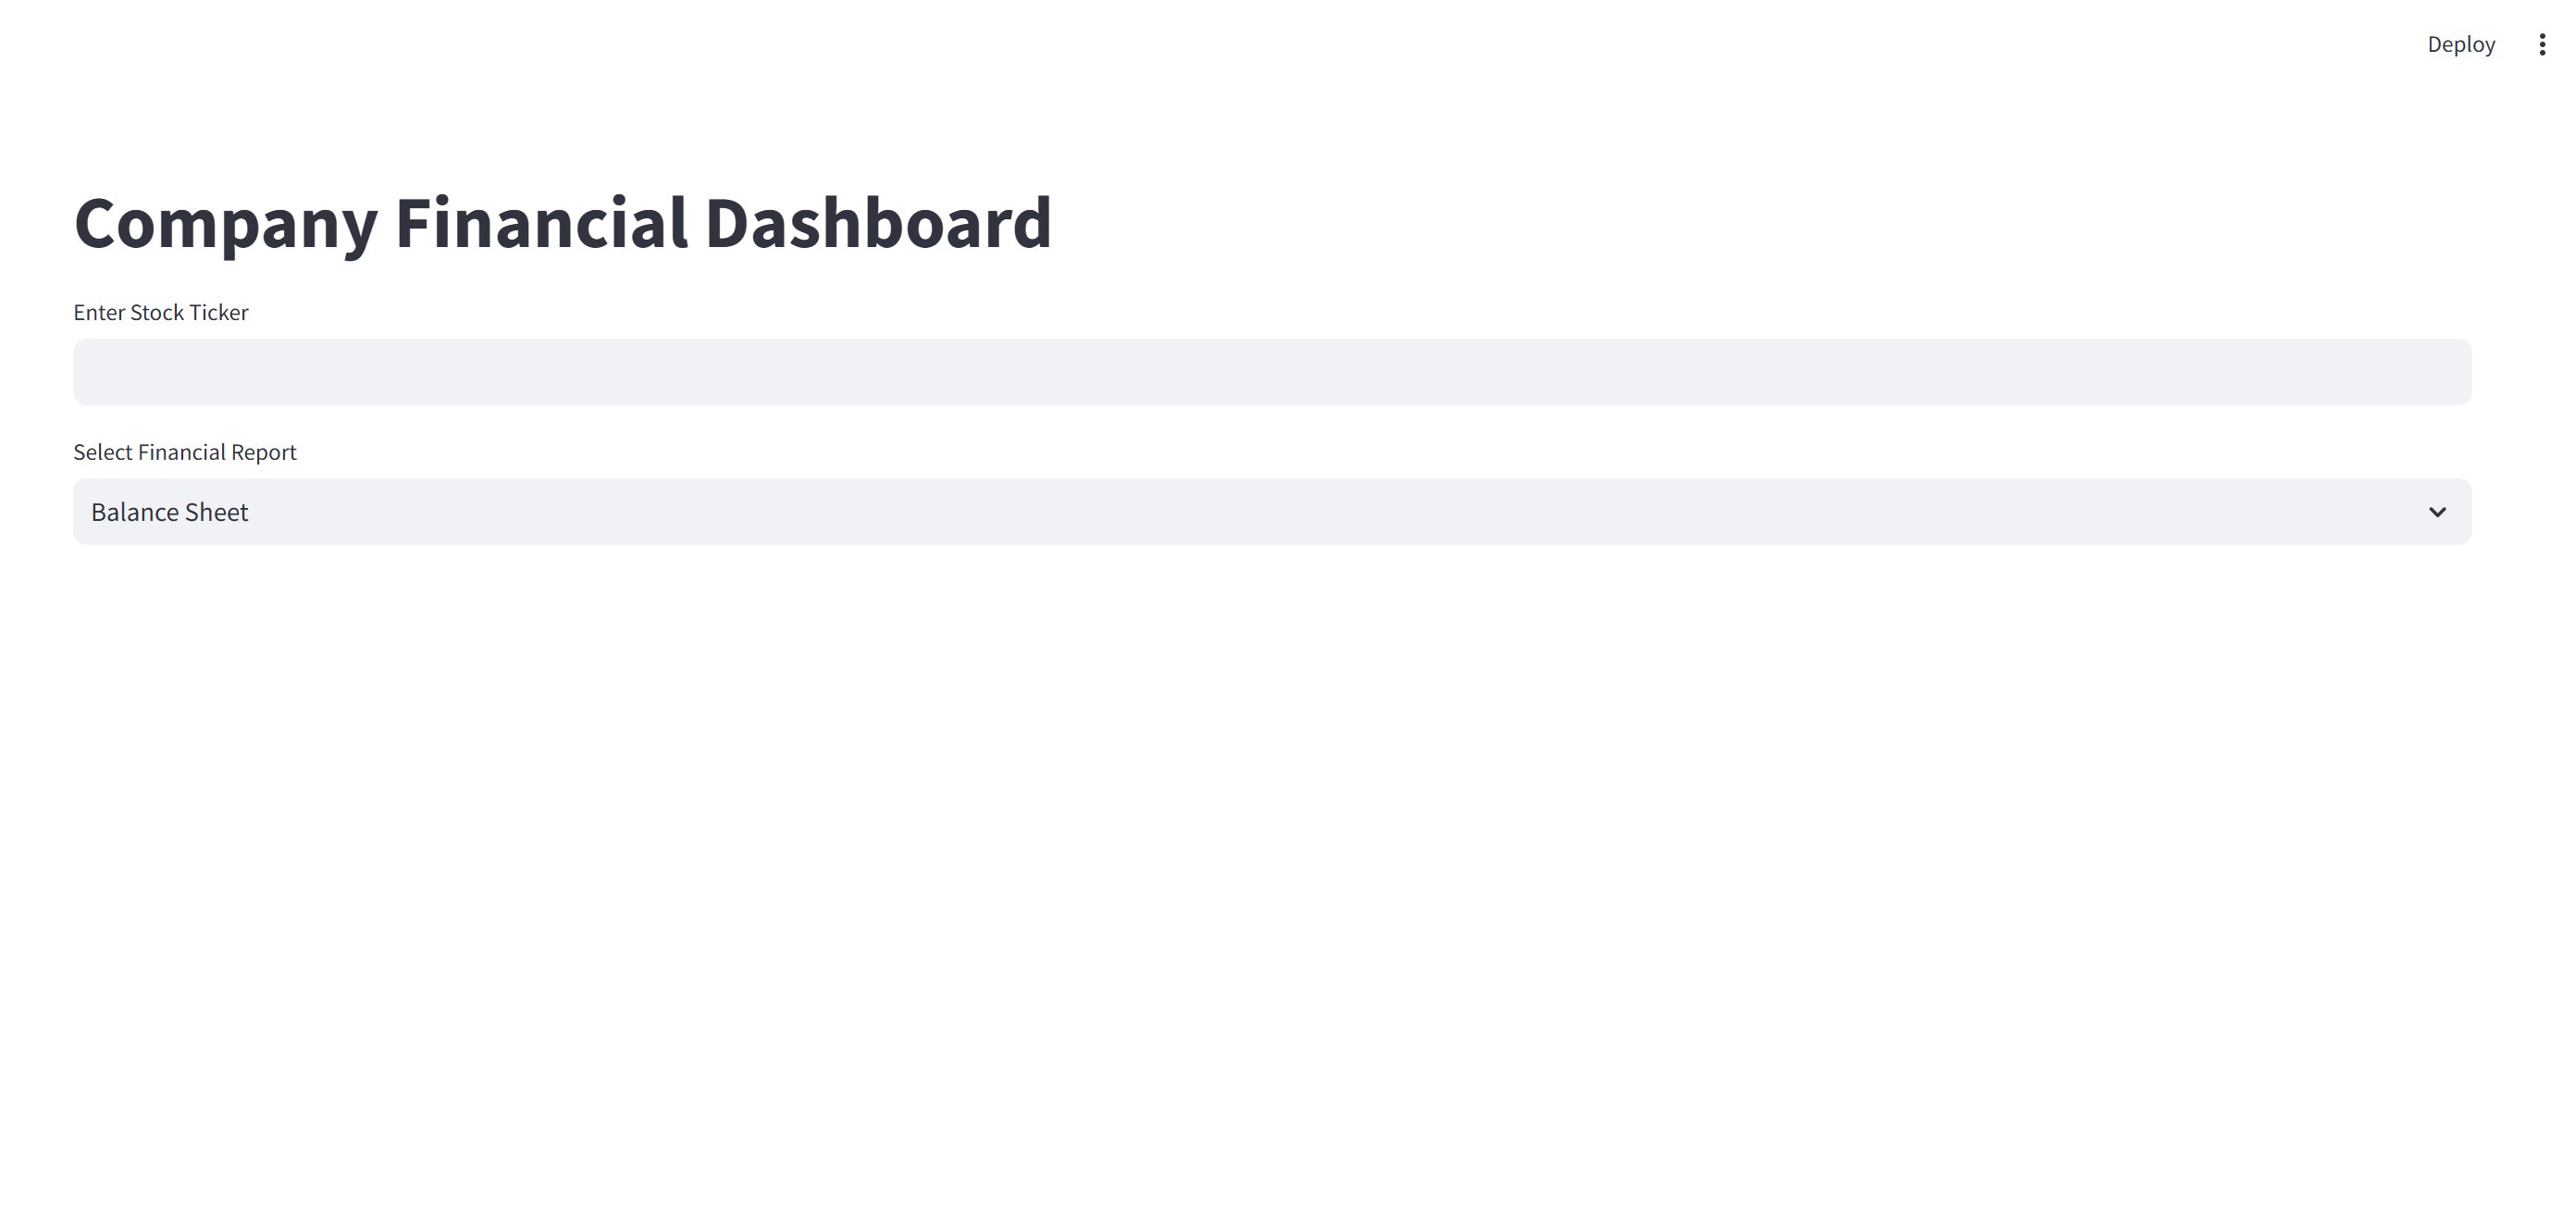
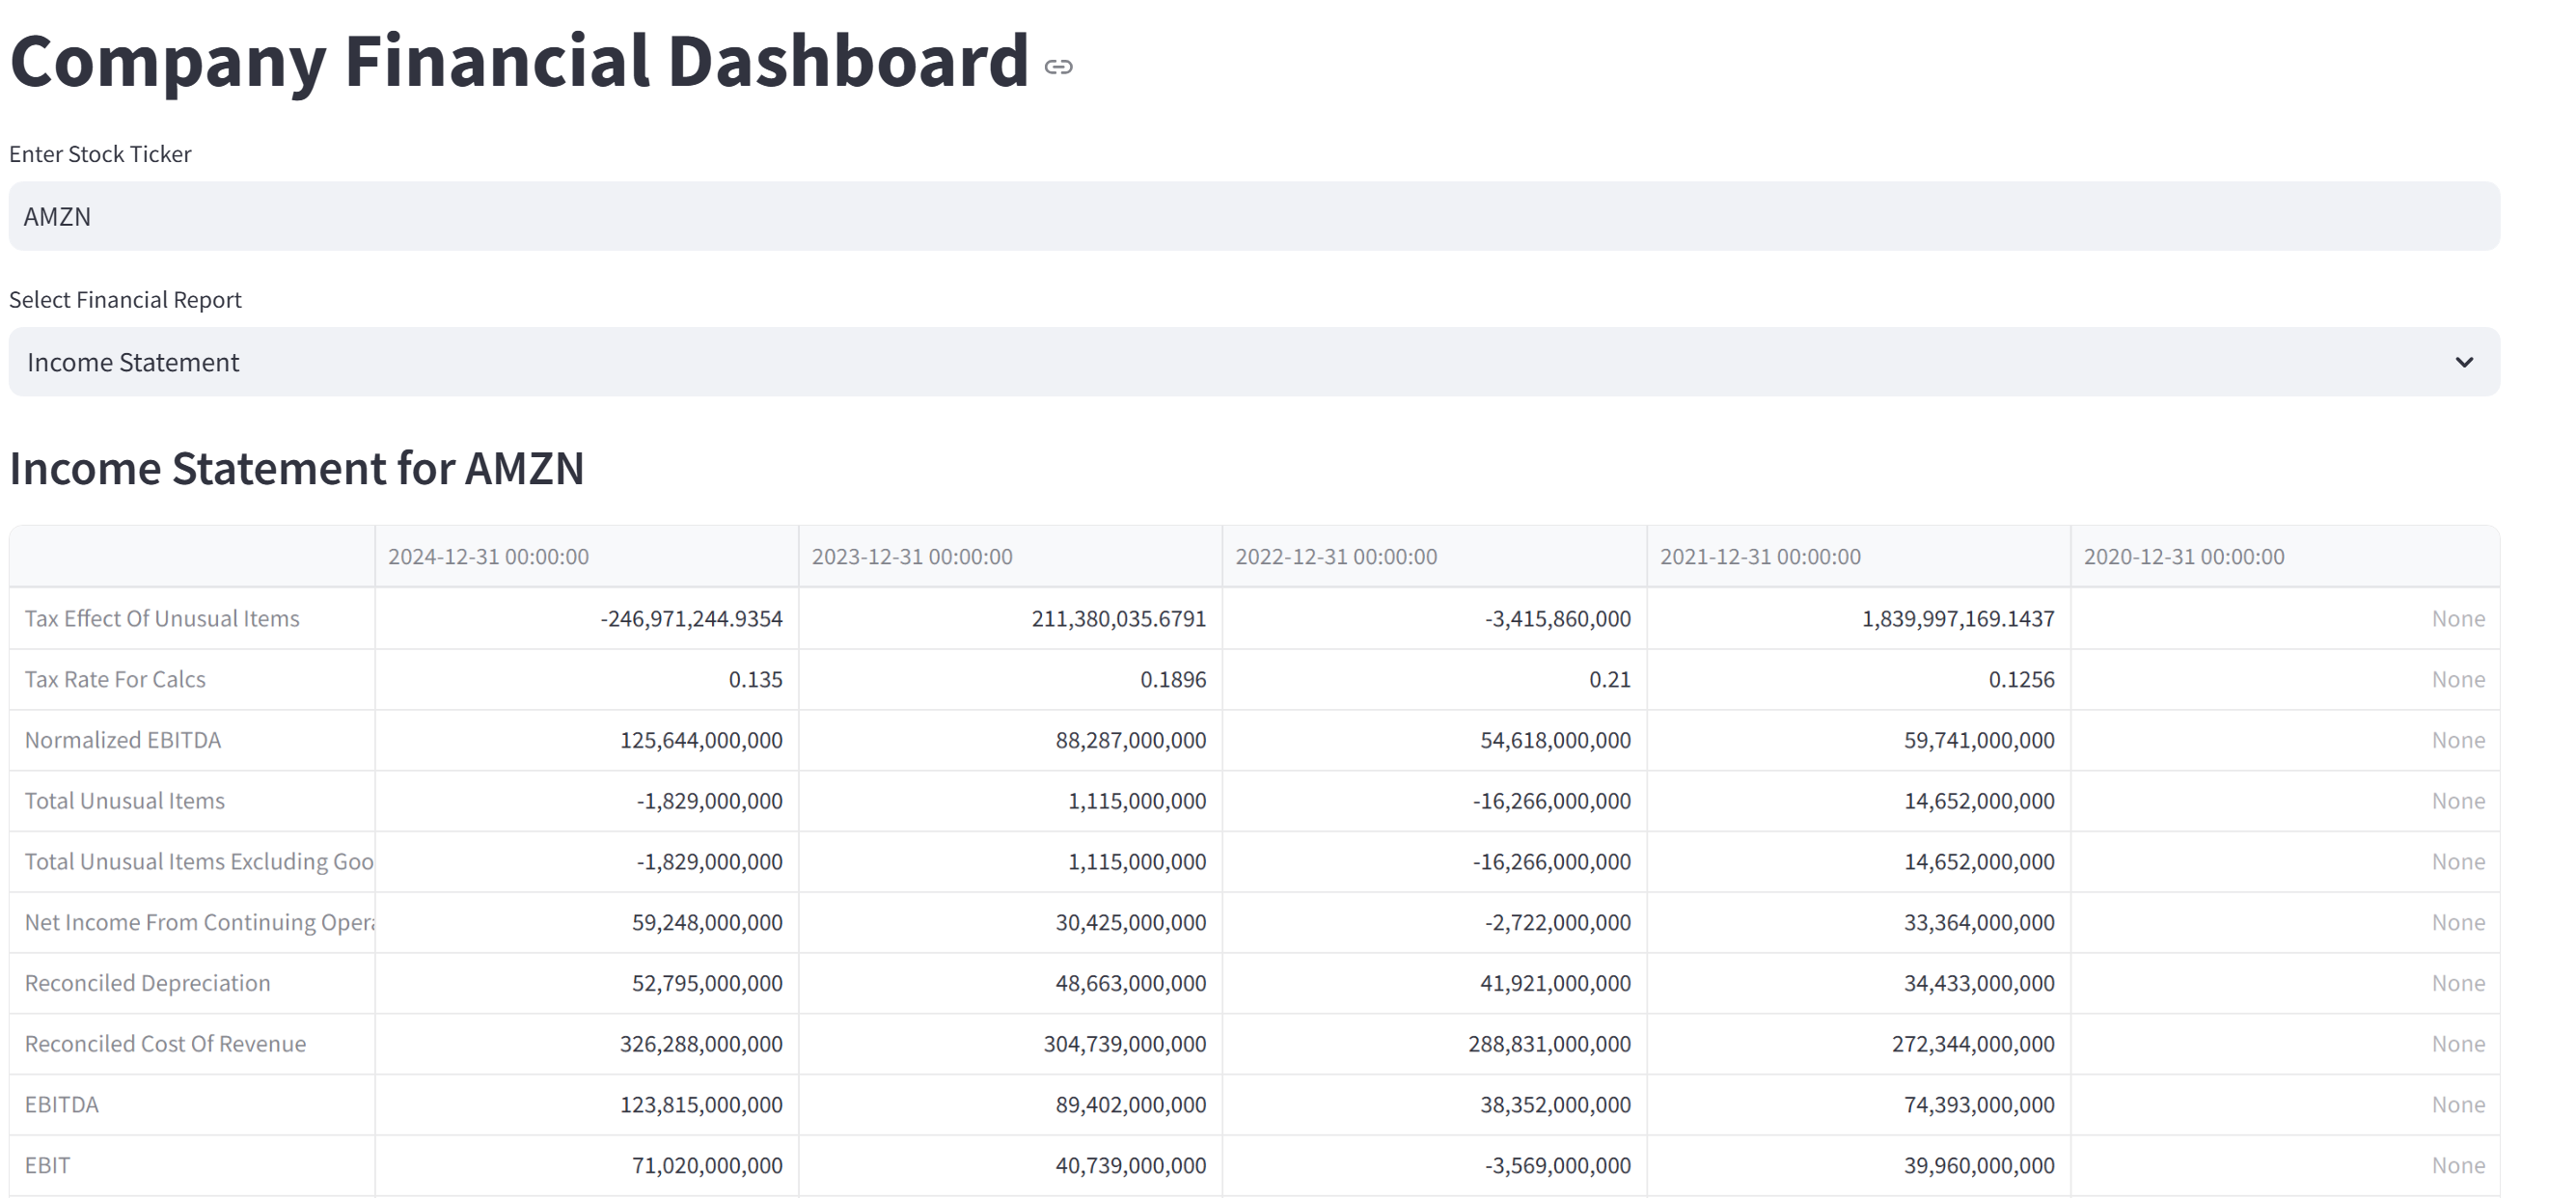
With the app running, I can type in the name or ticker of any stock and instantly pull up its financials. For example, if I enter Amazon’s ticker symbol, AMZN, the app will display the company’s financials in an easy-to-read format.
This makes it simple to explore key figures without digging through long financial reports or jumping between different websites.
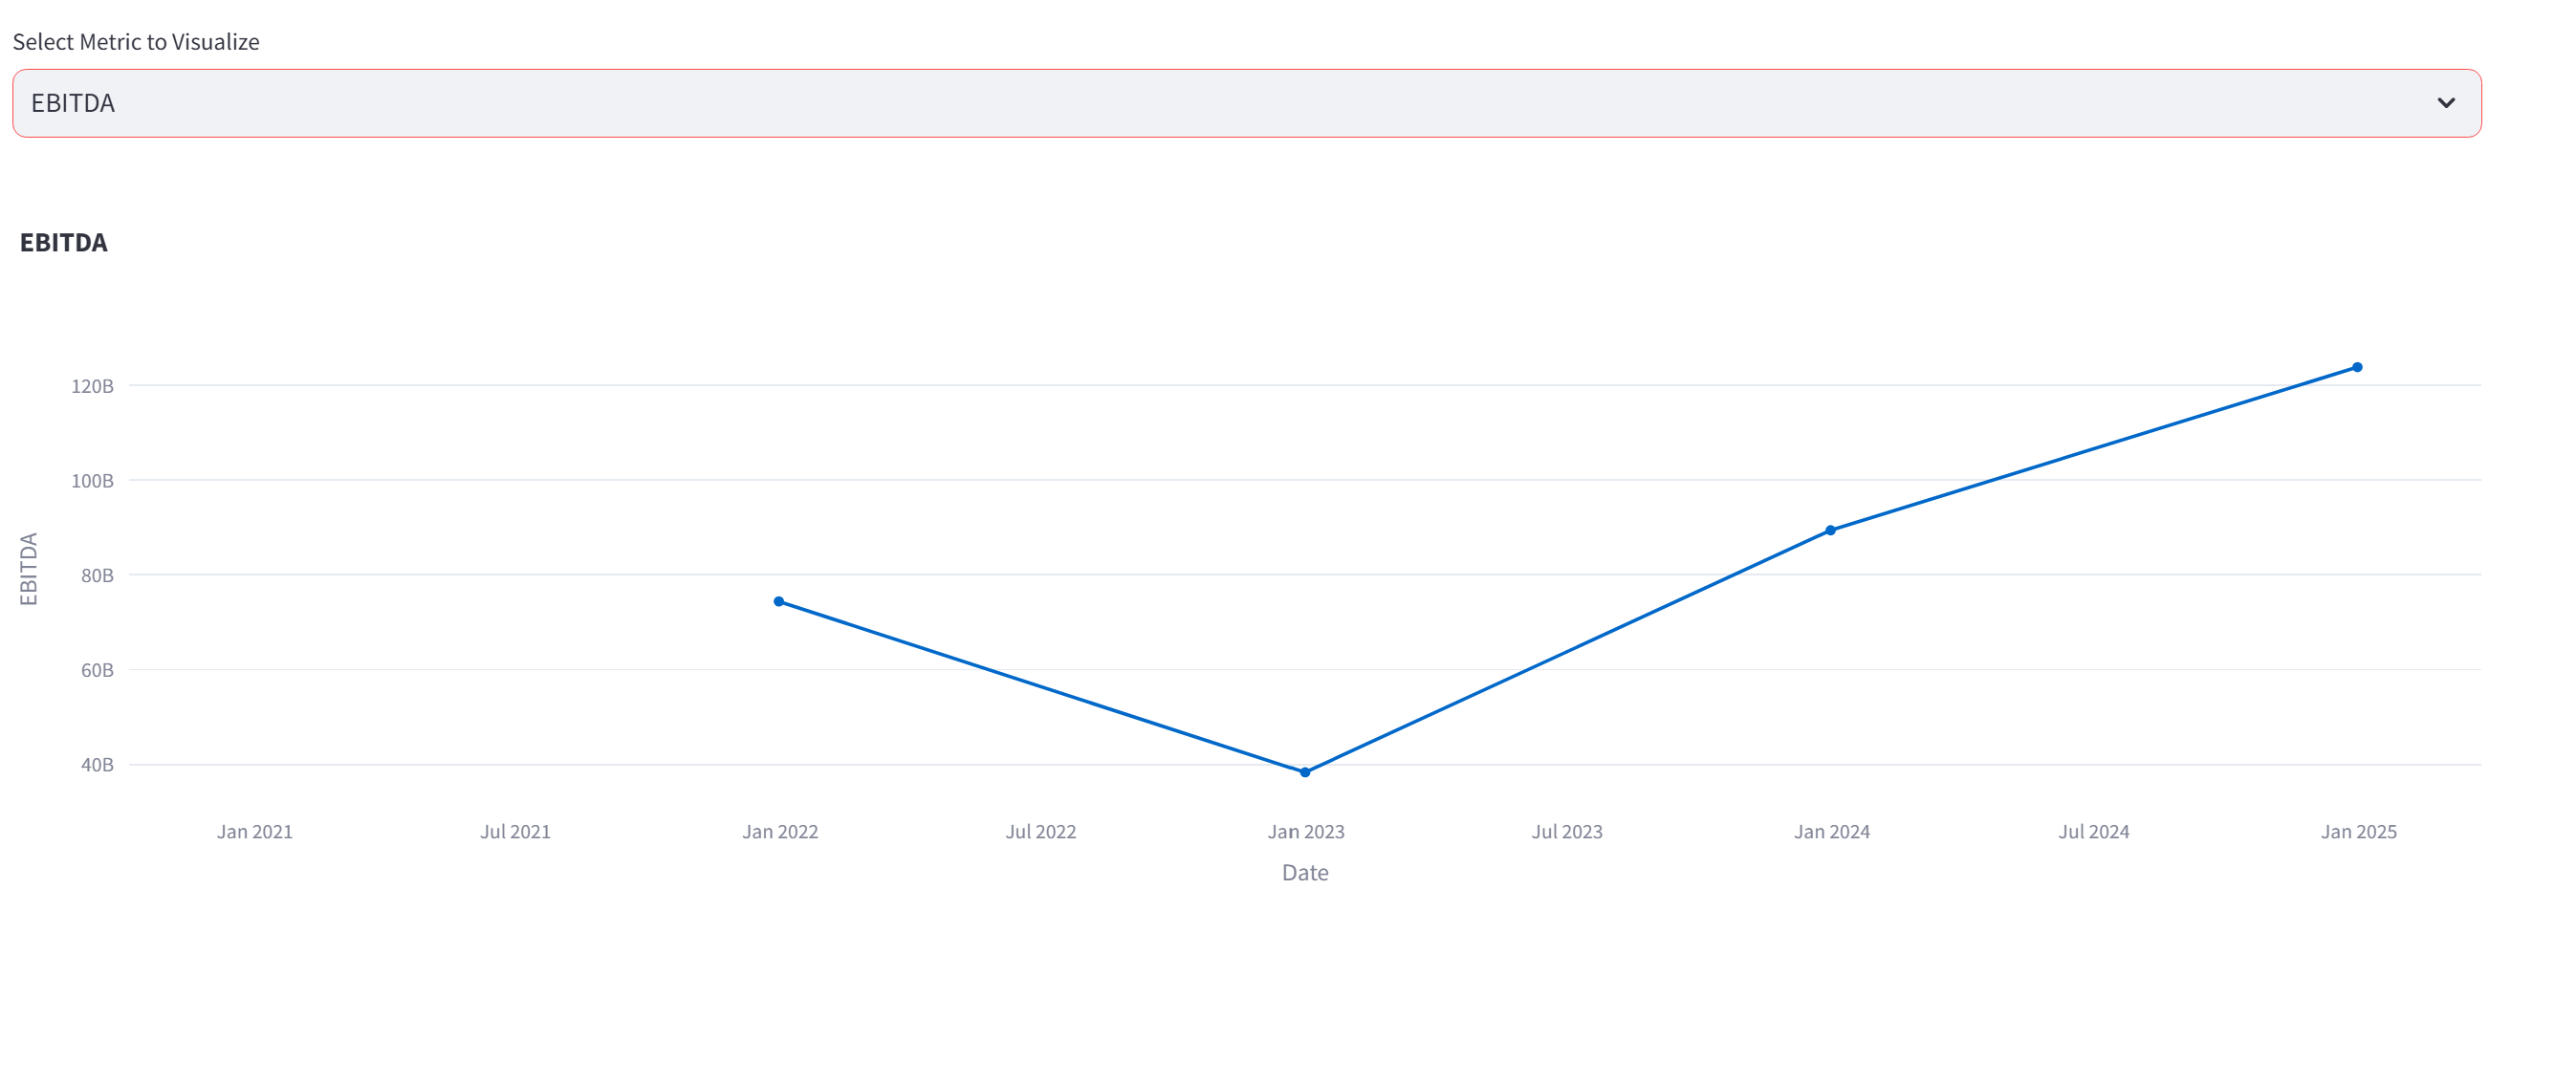
I’ve also prepared the app to draw a line plot for any metric I choose. If you scroll a bit down, you’ll see the following:
You might be thinking, “This looks interesting – I’d like to try it out myself. Can I?” The answer, for now, is no.
The app is only running on my computer, which means you’d need access to my PC to use it. That’s why the address shows up as localhost visible only to me:

And this is where Hugging Face will help us!
Creating the HuggingFace Space
Now let’s go to huggingface.co/spaces and click on “New Space” to get started.

After clicking the “New Space” button, we can begin setting up the environment that will host our app.
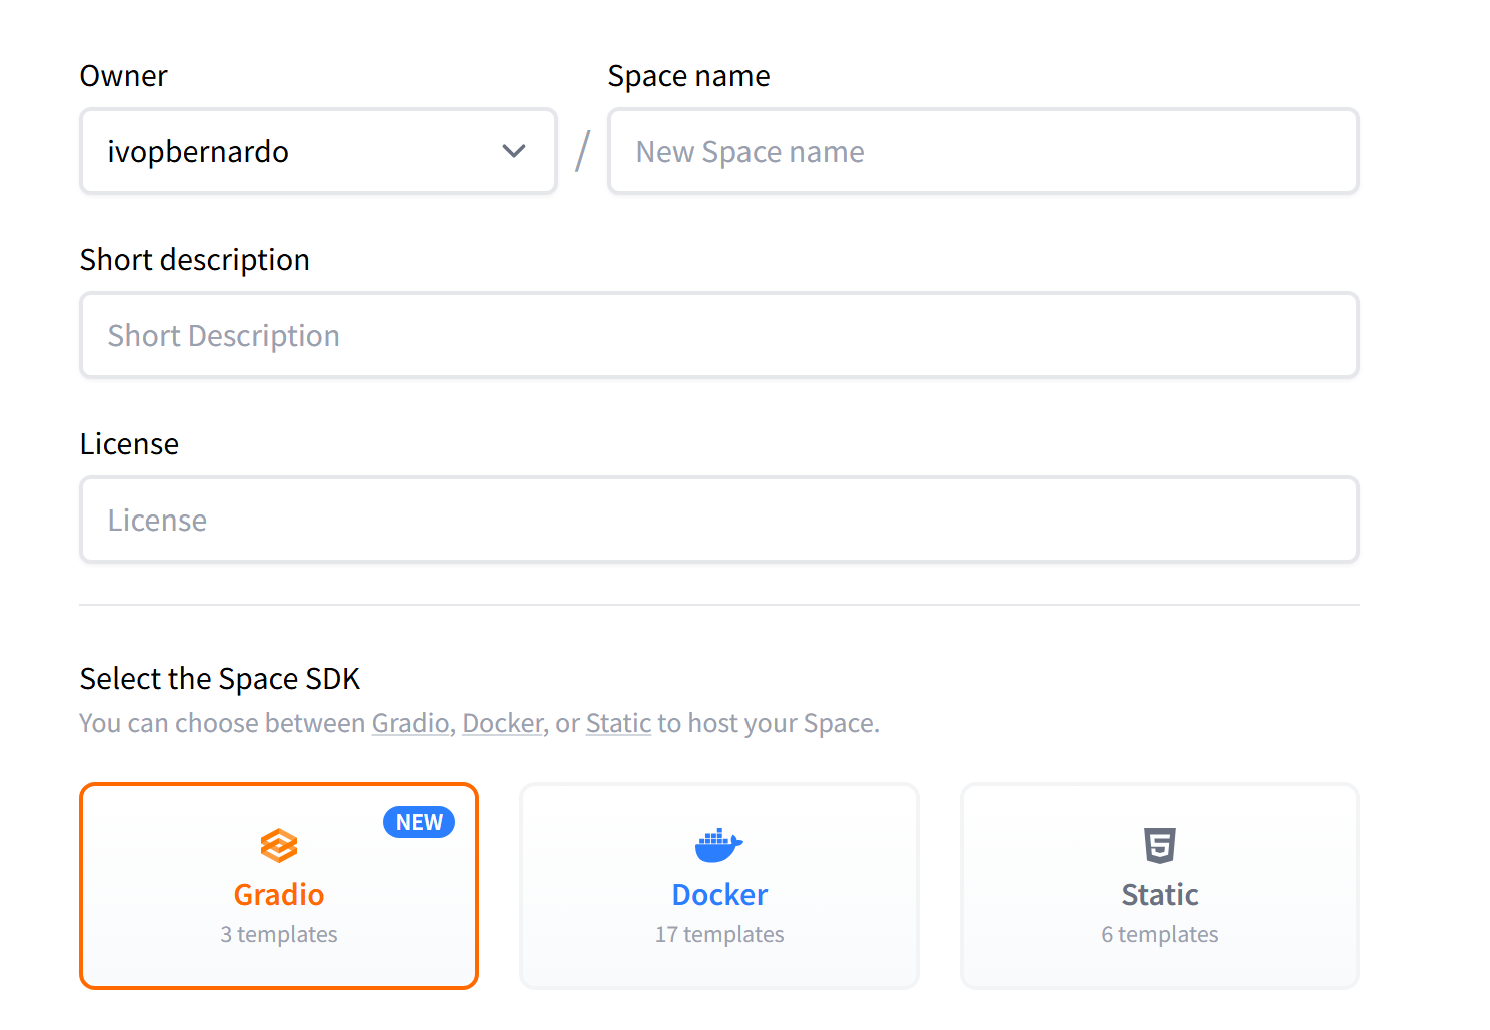
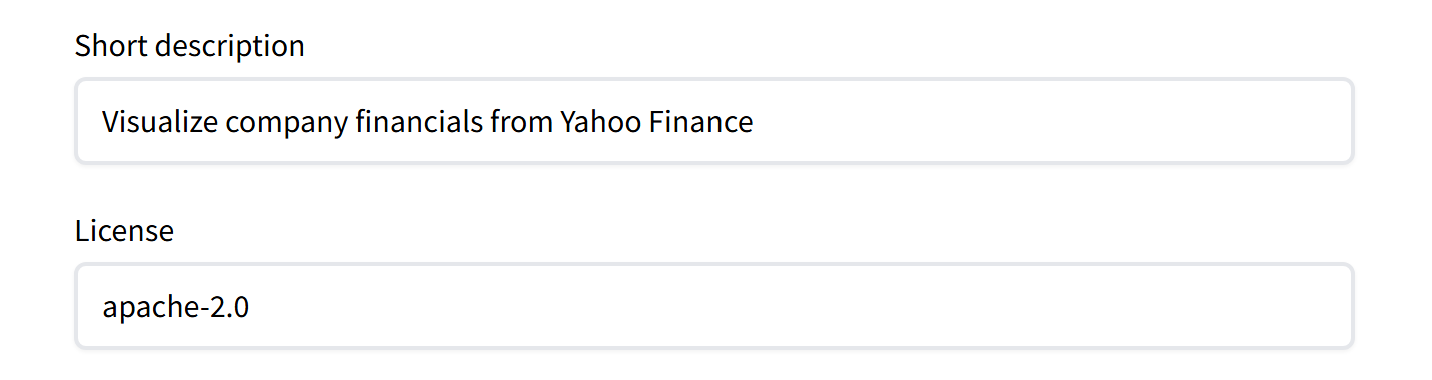
Here, I’ll name the project financialexplore, add a short description, and choose a license (in this case, Apache 2.0):
Finally, since the app is built with Streamlit, I need to make sure that’s configured properly. In the setup screen, I’ll selectDocker as the base and then choose Streamlit as the framework. This step tells Hugging Face how to run the app so everything works smoothly once it’s deployed.
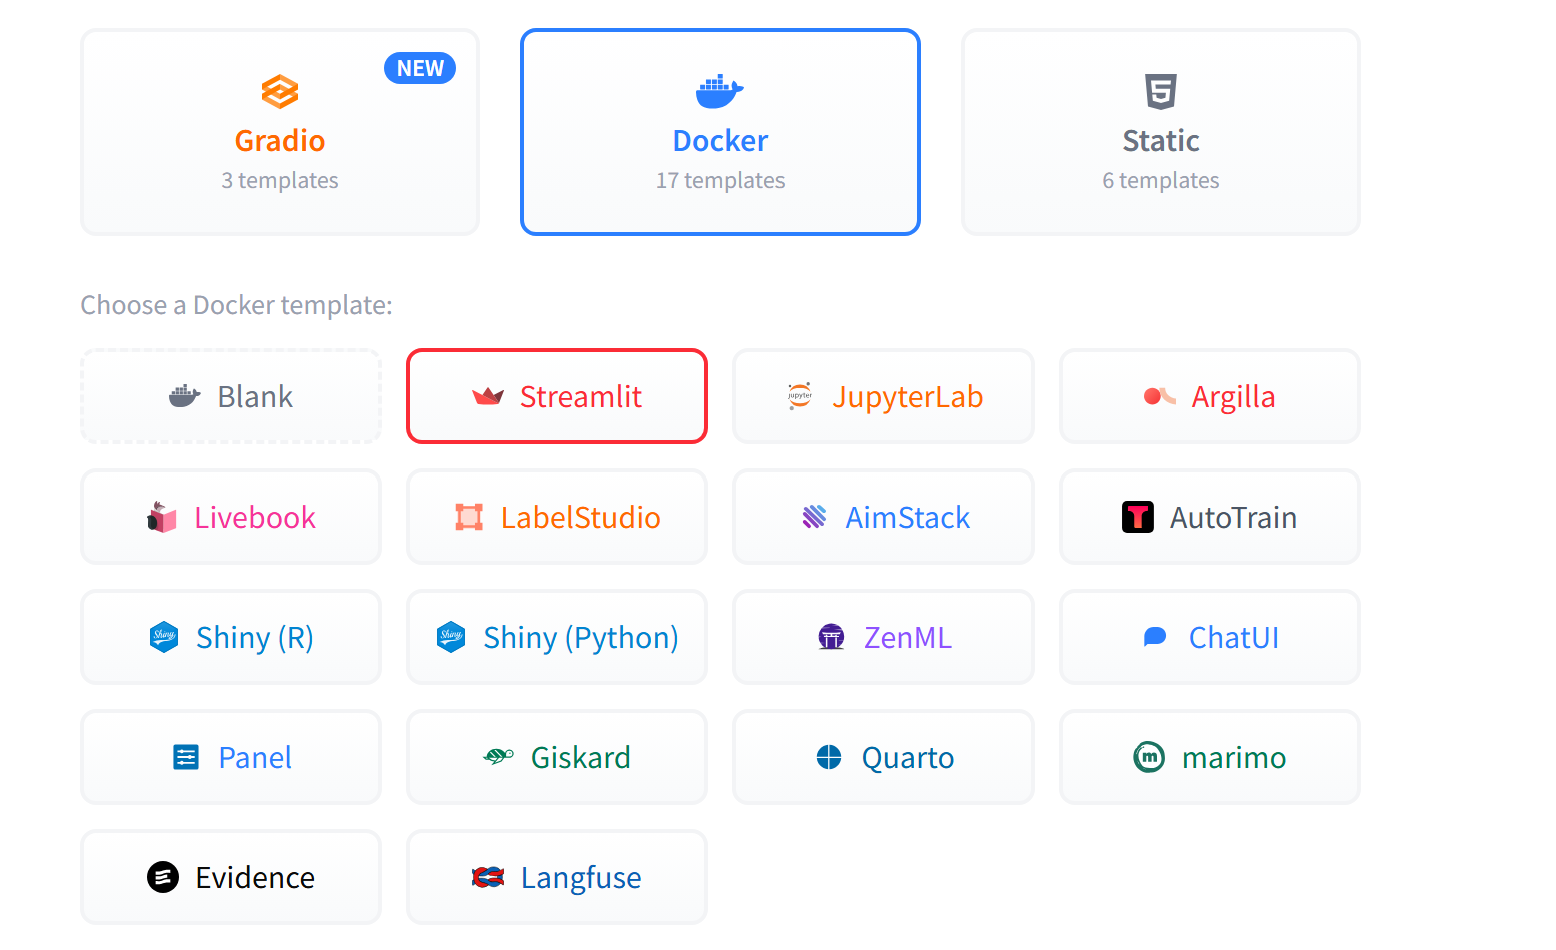
If you’re using a different framework (like Shiny), be sure to select it here. That way, the Docker image created for your Space will include the right packages and libraries for your app to run correctly.
When it comes to computing, I’ll choose the basic version. Keep in mind that this is the only free hardware in huggingface spaces, if you need more computing power you may incur some costs.

I’ll keep my Space public so I can share it here in this blog post. With all the settings in place, I just hit “Create Space”.
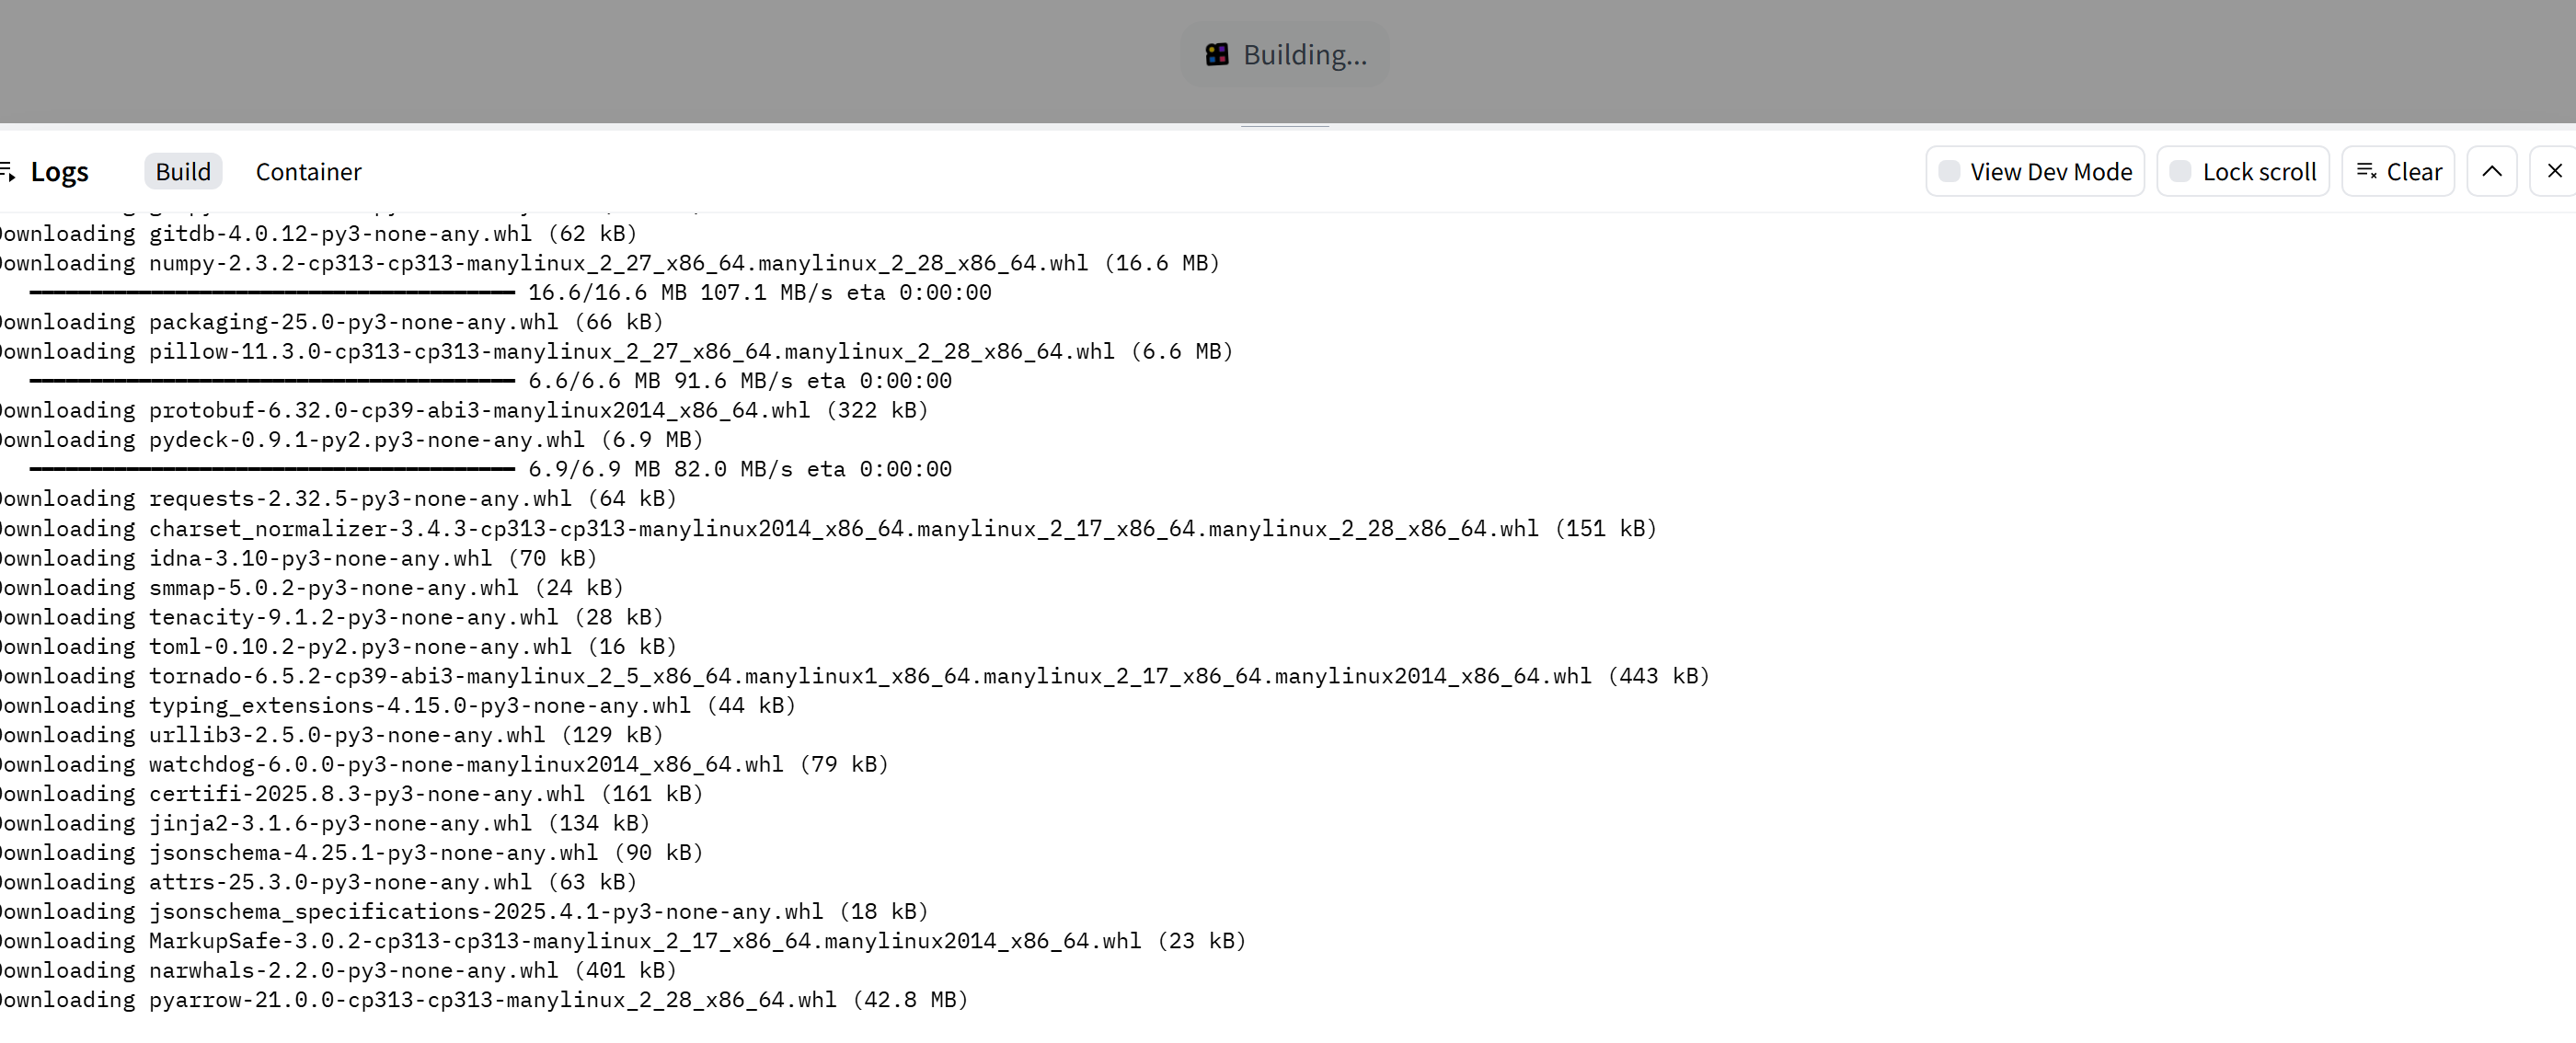
Hugging Face then takes over and starts building the environment, getting everything ready for the app to run.
Once my Hugging Face Space is created, I can open it and see the default Streamlit template running. This template is a simple starting point, but it’s useful because it shows that the environment is working as expected.
With the Space ready, it’s now time to deploy our app to it.
Deploying our App on the Space
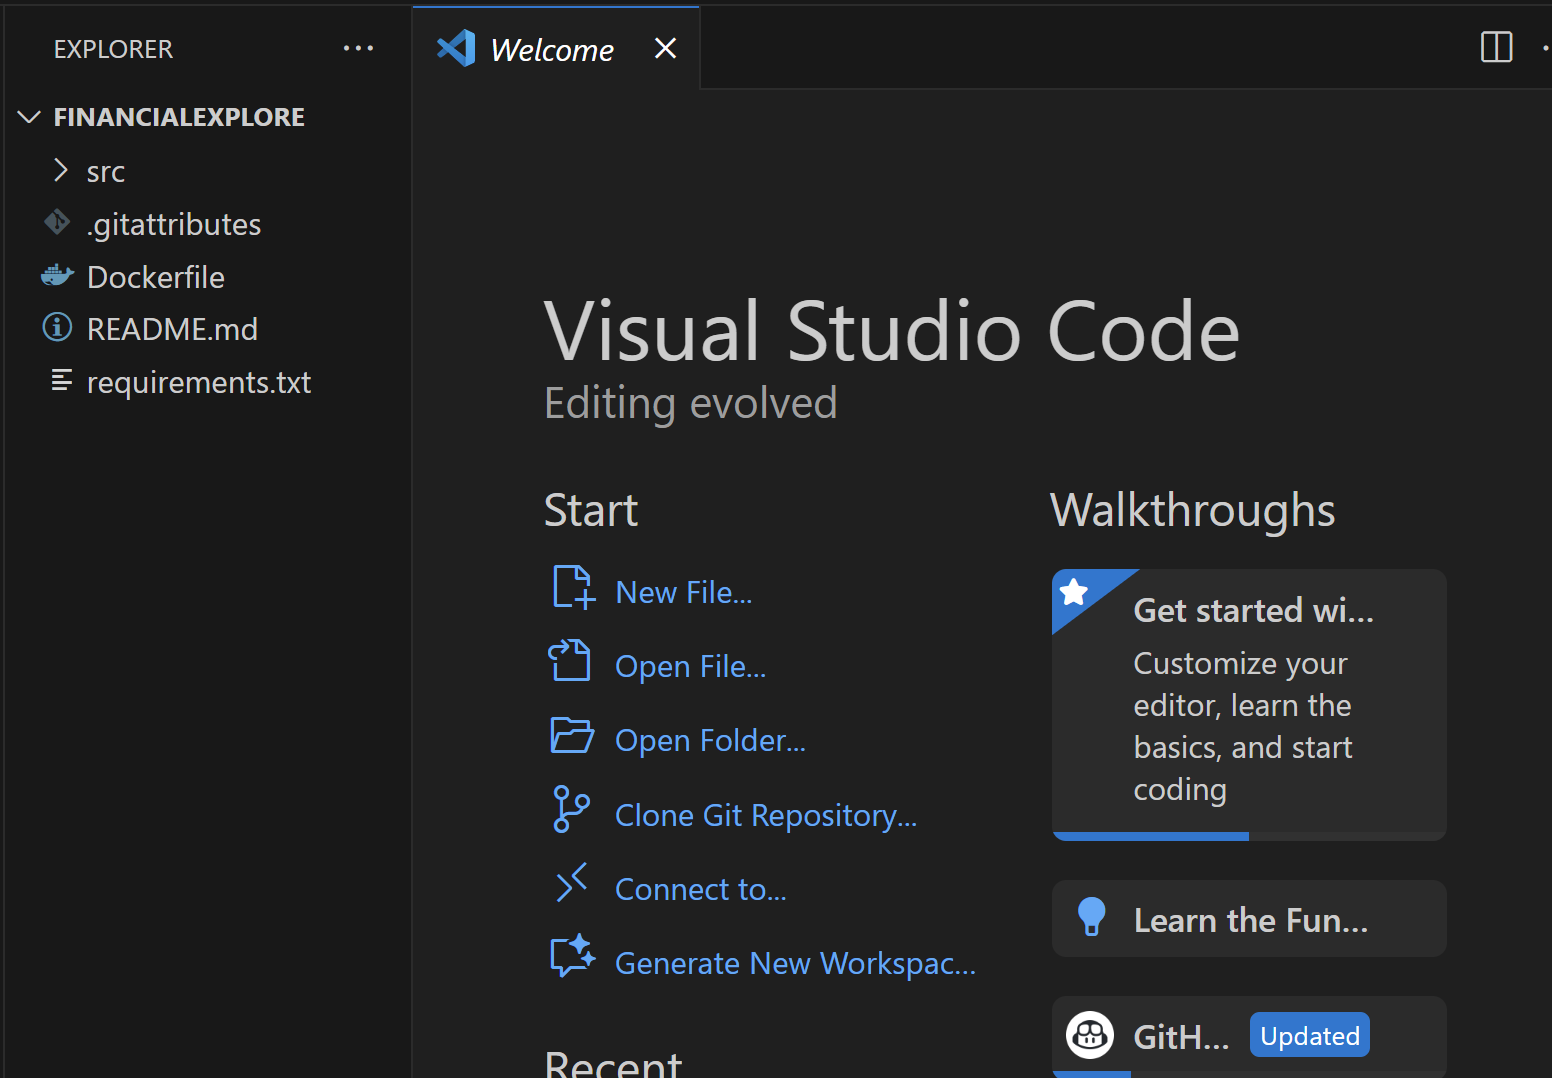
I can upload the files manually, but that would quickly get cumbersome and error prone. A better option is to treat the Space like a Git repository, which means I can clone it straight to my computer with a single command:
git clone https://huggingface.co/spaces/ivopbernardo/financialexploreBy cloning the Space locally, I get all the files on my machine and can work with them just like any other project. From there, I simply drop in my app.py and any other files I need.
Now it’s time to bring everything together and get the app ready to deploy. First, we need to update a couple of files:
– requirements.txt: here I’ll add the extra libraries my app needs, like plotly and yfinance.
– streamlit_app.py: this is the main entry point. To keep things simple, I’ll just copy the code from my app.py into src/streamlit_app.py. (If you’d rather keep your own app.py, you’d need to adjust the Docker config accordingly to launch this file).
With those changes in place, we’re ready! I’ll commit directly to the main branch, but you can set up your own versioning workflow if you prefer.
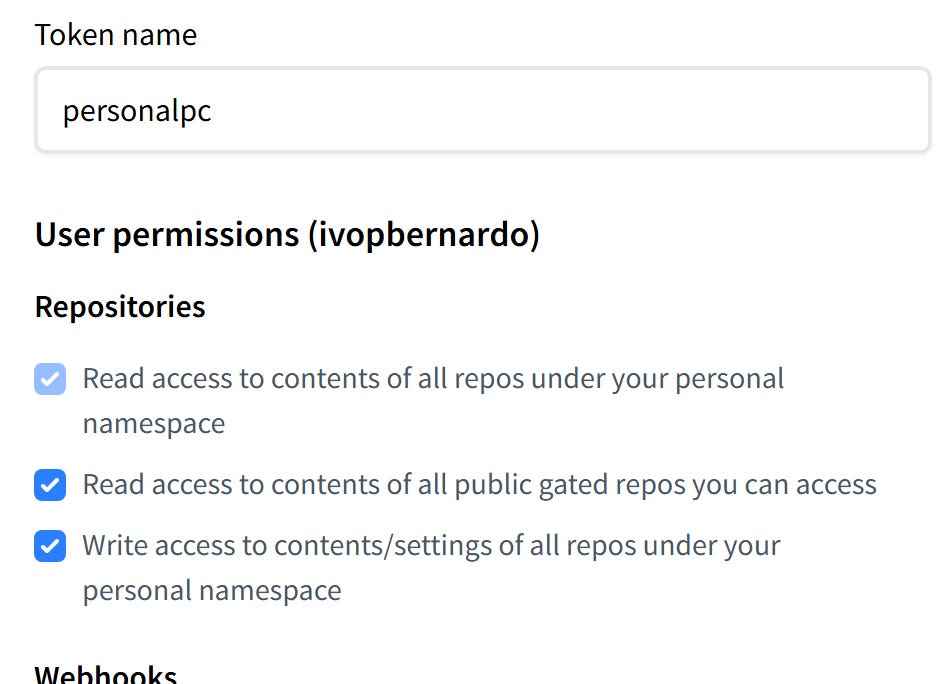
There’s one catch, though: your computer won’t yet have permission to push code to Hugging Face Spaces. To fix this, you’ll need an access token. Just head over to huggingface.co/settings/tokens, click “New Token,” and create one. That token will allow you to authenticate and push your code to the Space.
I’ll call the token personalpc and give read/write permissions to all my repos on my huggingface account:
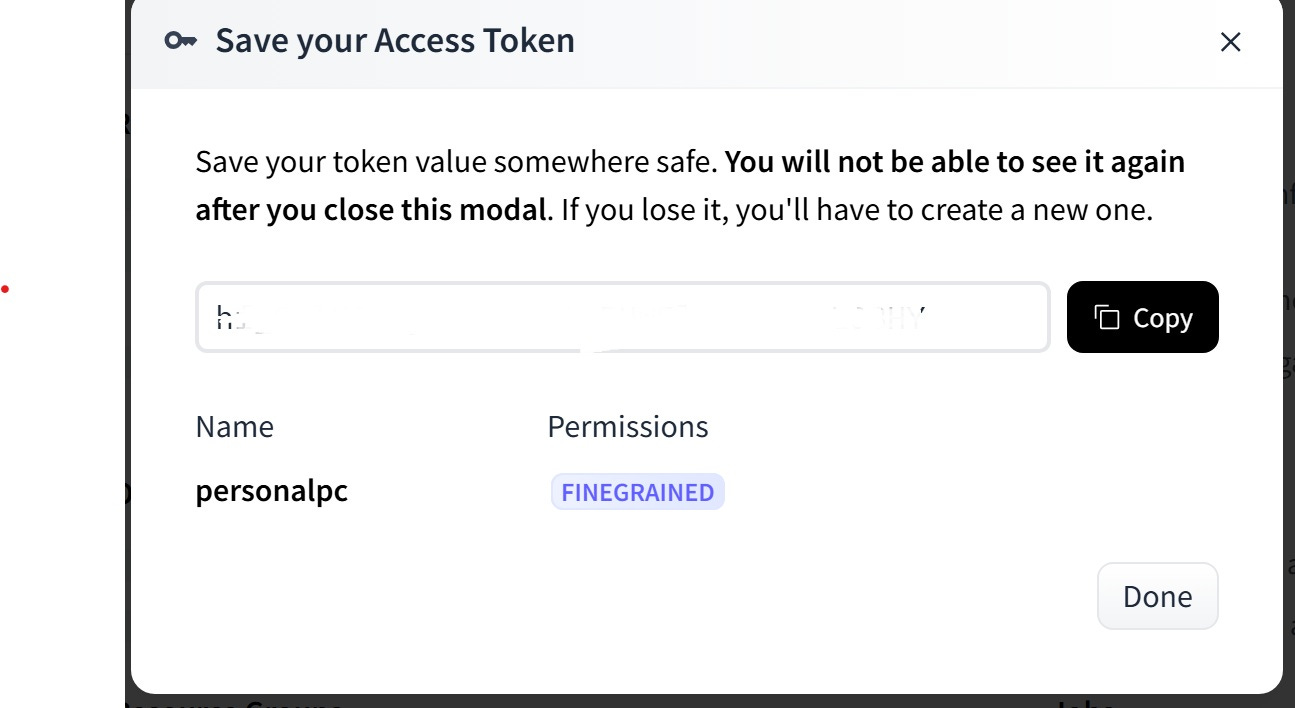
Once you create the token, you’ll see it listed in your account. Mine’s hidden below for security reasons. Make sure to copy it right away and store it somewhere safe. I recommend you use a password manager such as 1Password, but any secure password manager will do. You’ll need this info later to connect your local setup to Hugging Face.
When you push your changes to the repo, Git Credential Manager will prompt you for a username and password.
Note: This prompt only appears if Git is installed on your machine itself, not just through the Visual Studio Code extension.
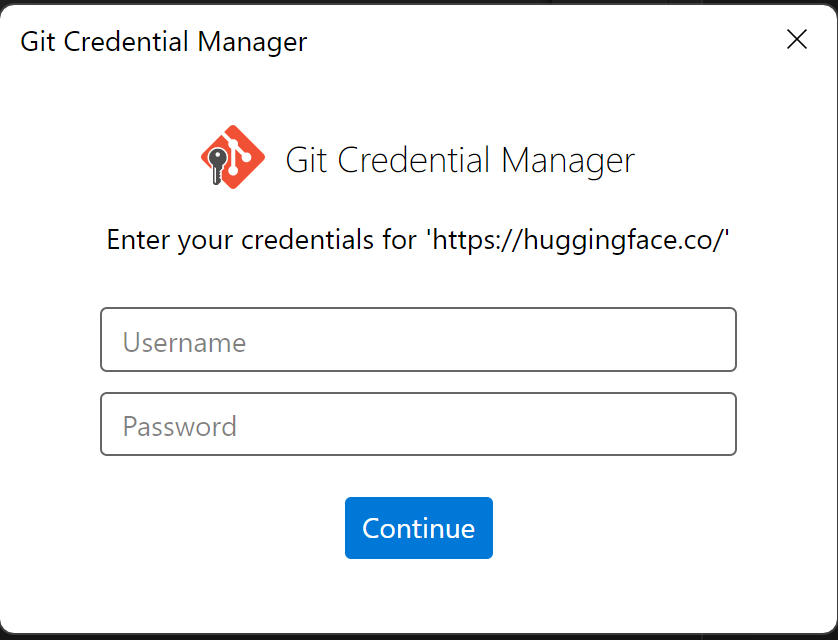
Enter your GitHub username, and for the password, paste the token you just created.
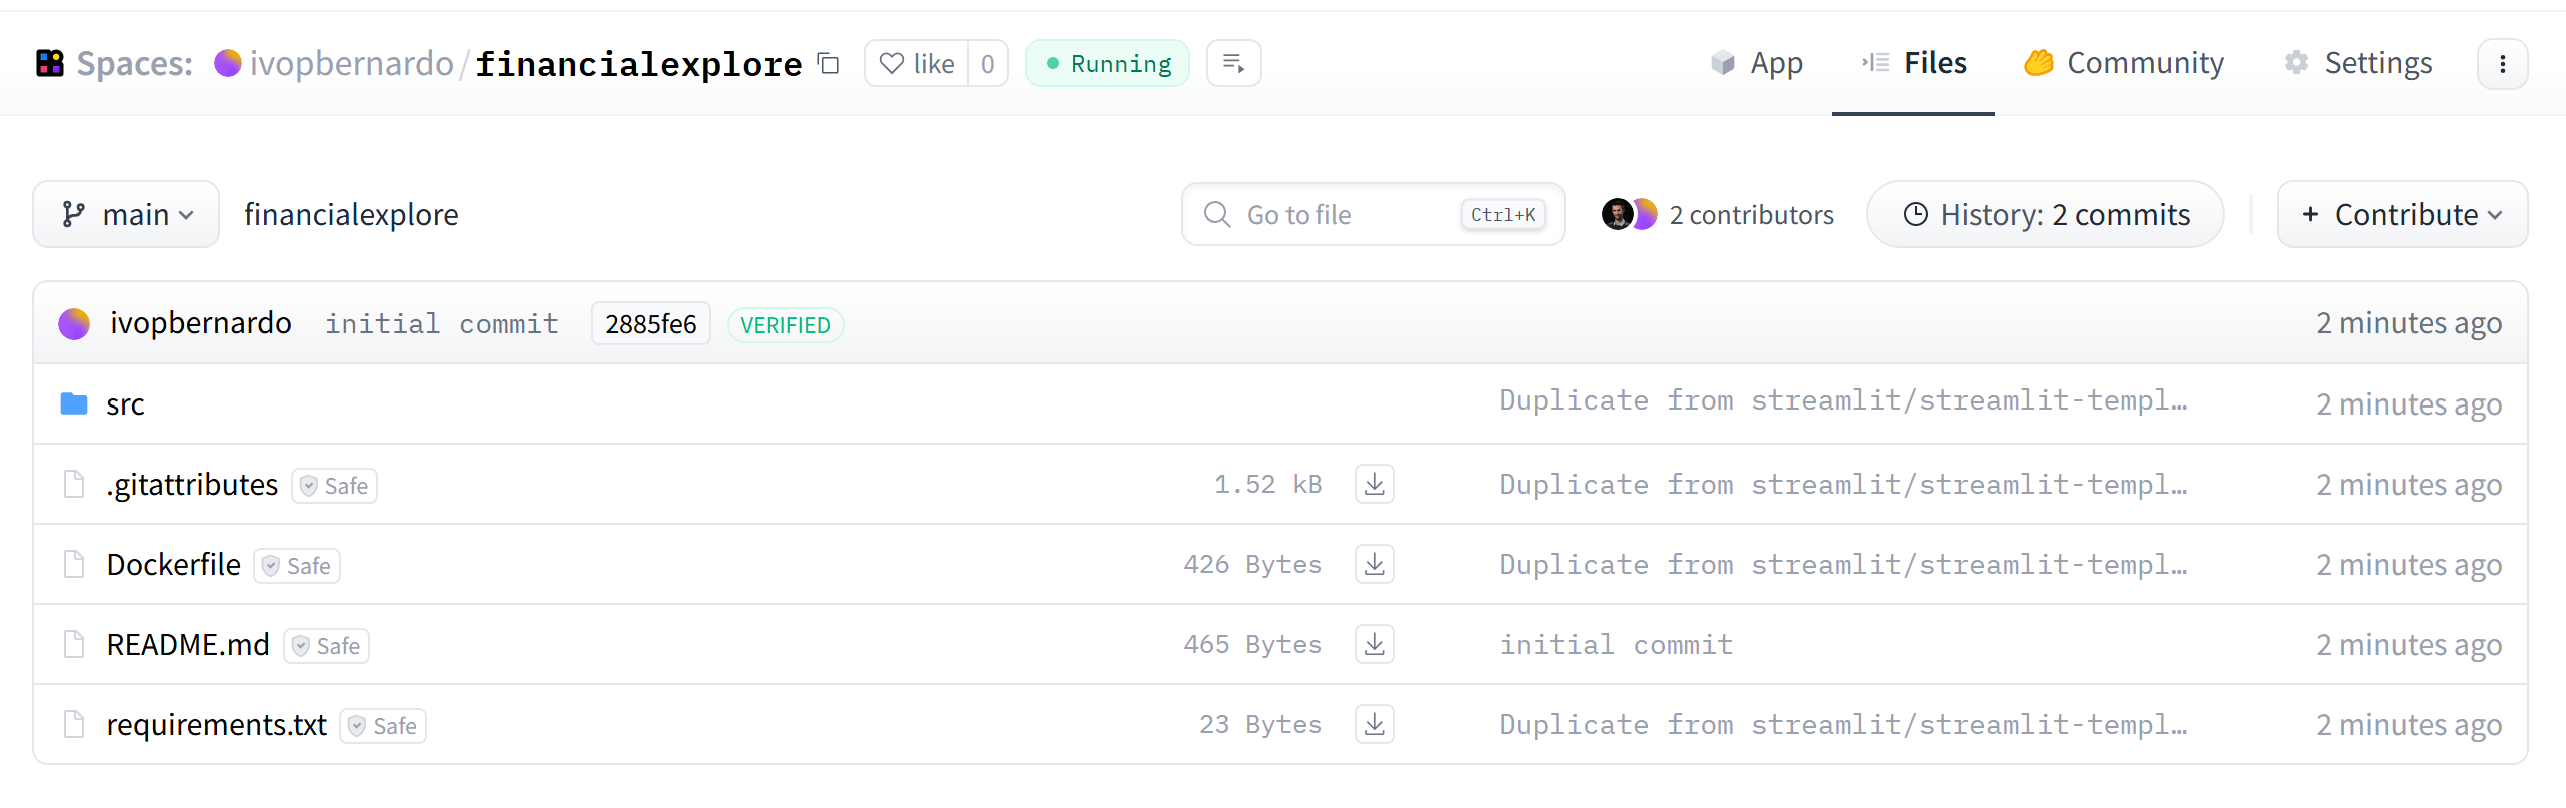
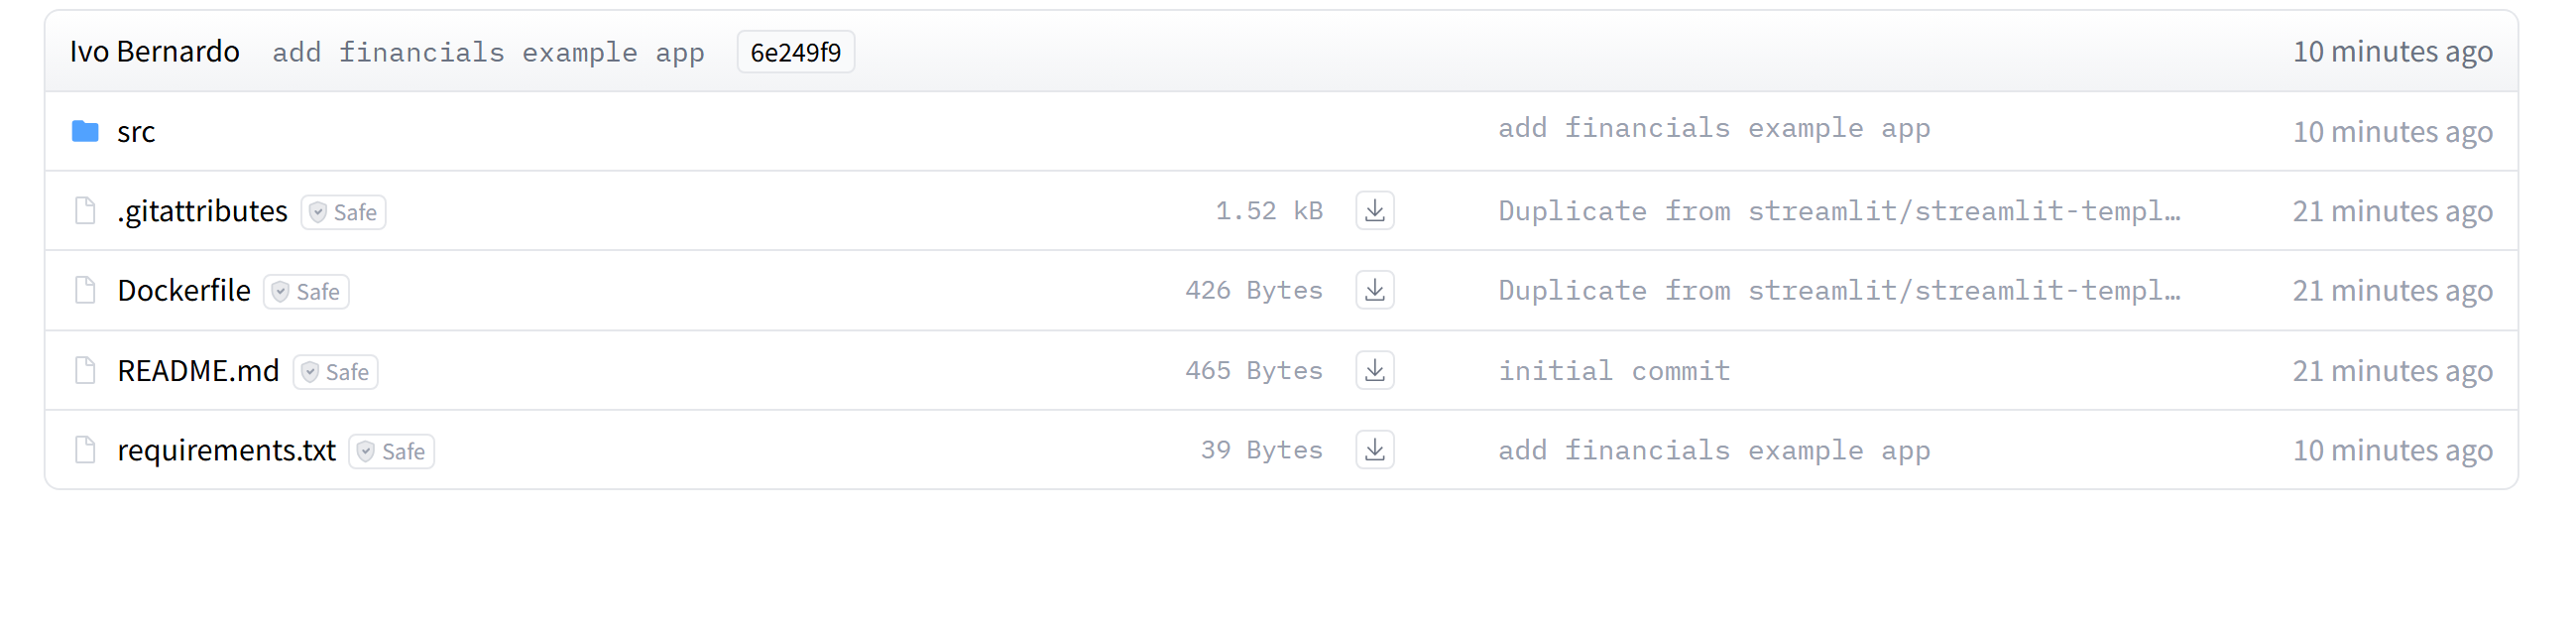
Voilá! After committing, the changes are now live in your repo. From this point on, you can work with it just like you would with any other Git repository.
Viewing our app live
As shown below, our code has just been updated:
But even better, let’s head over to the App menu:

And just like that, the app is live, running online exactly as it did on my computer.
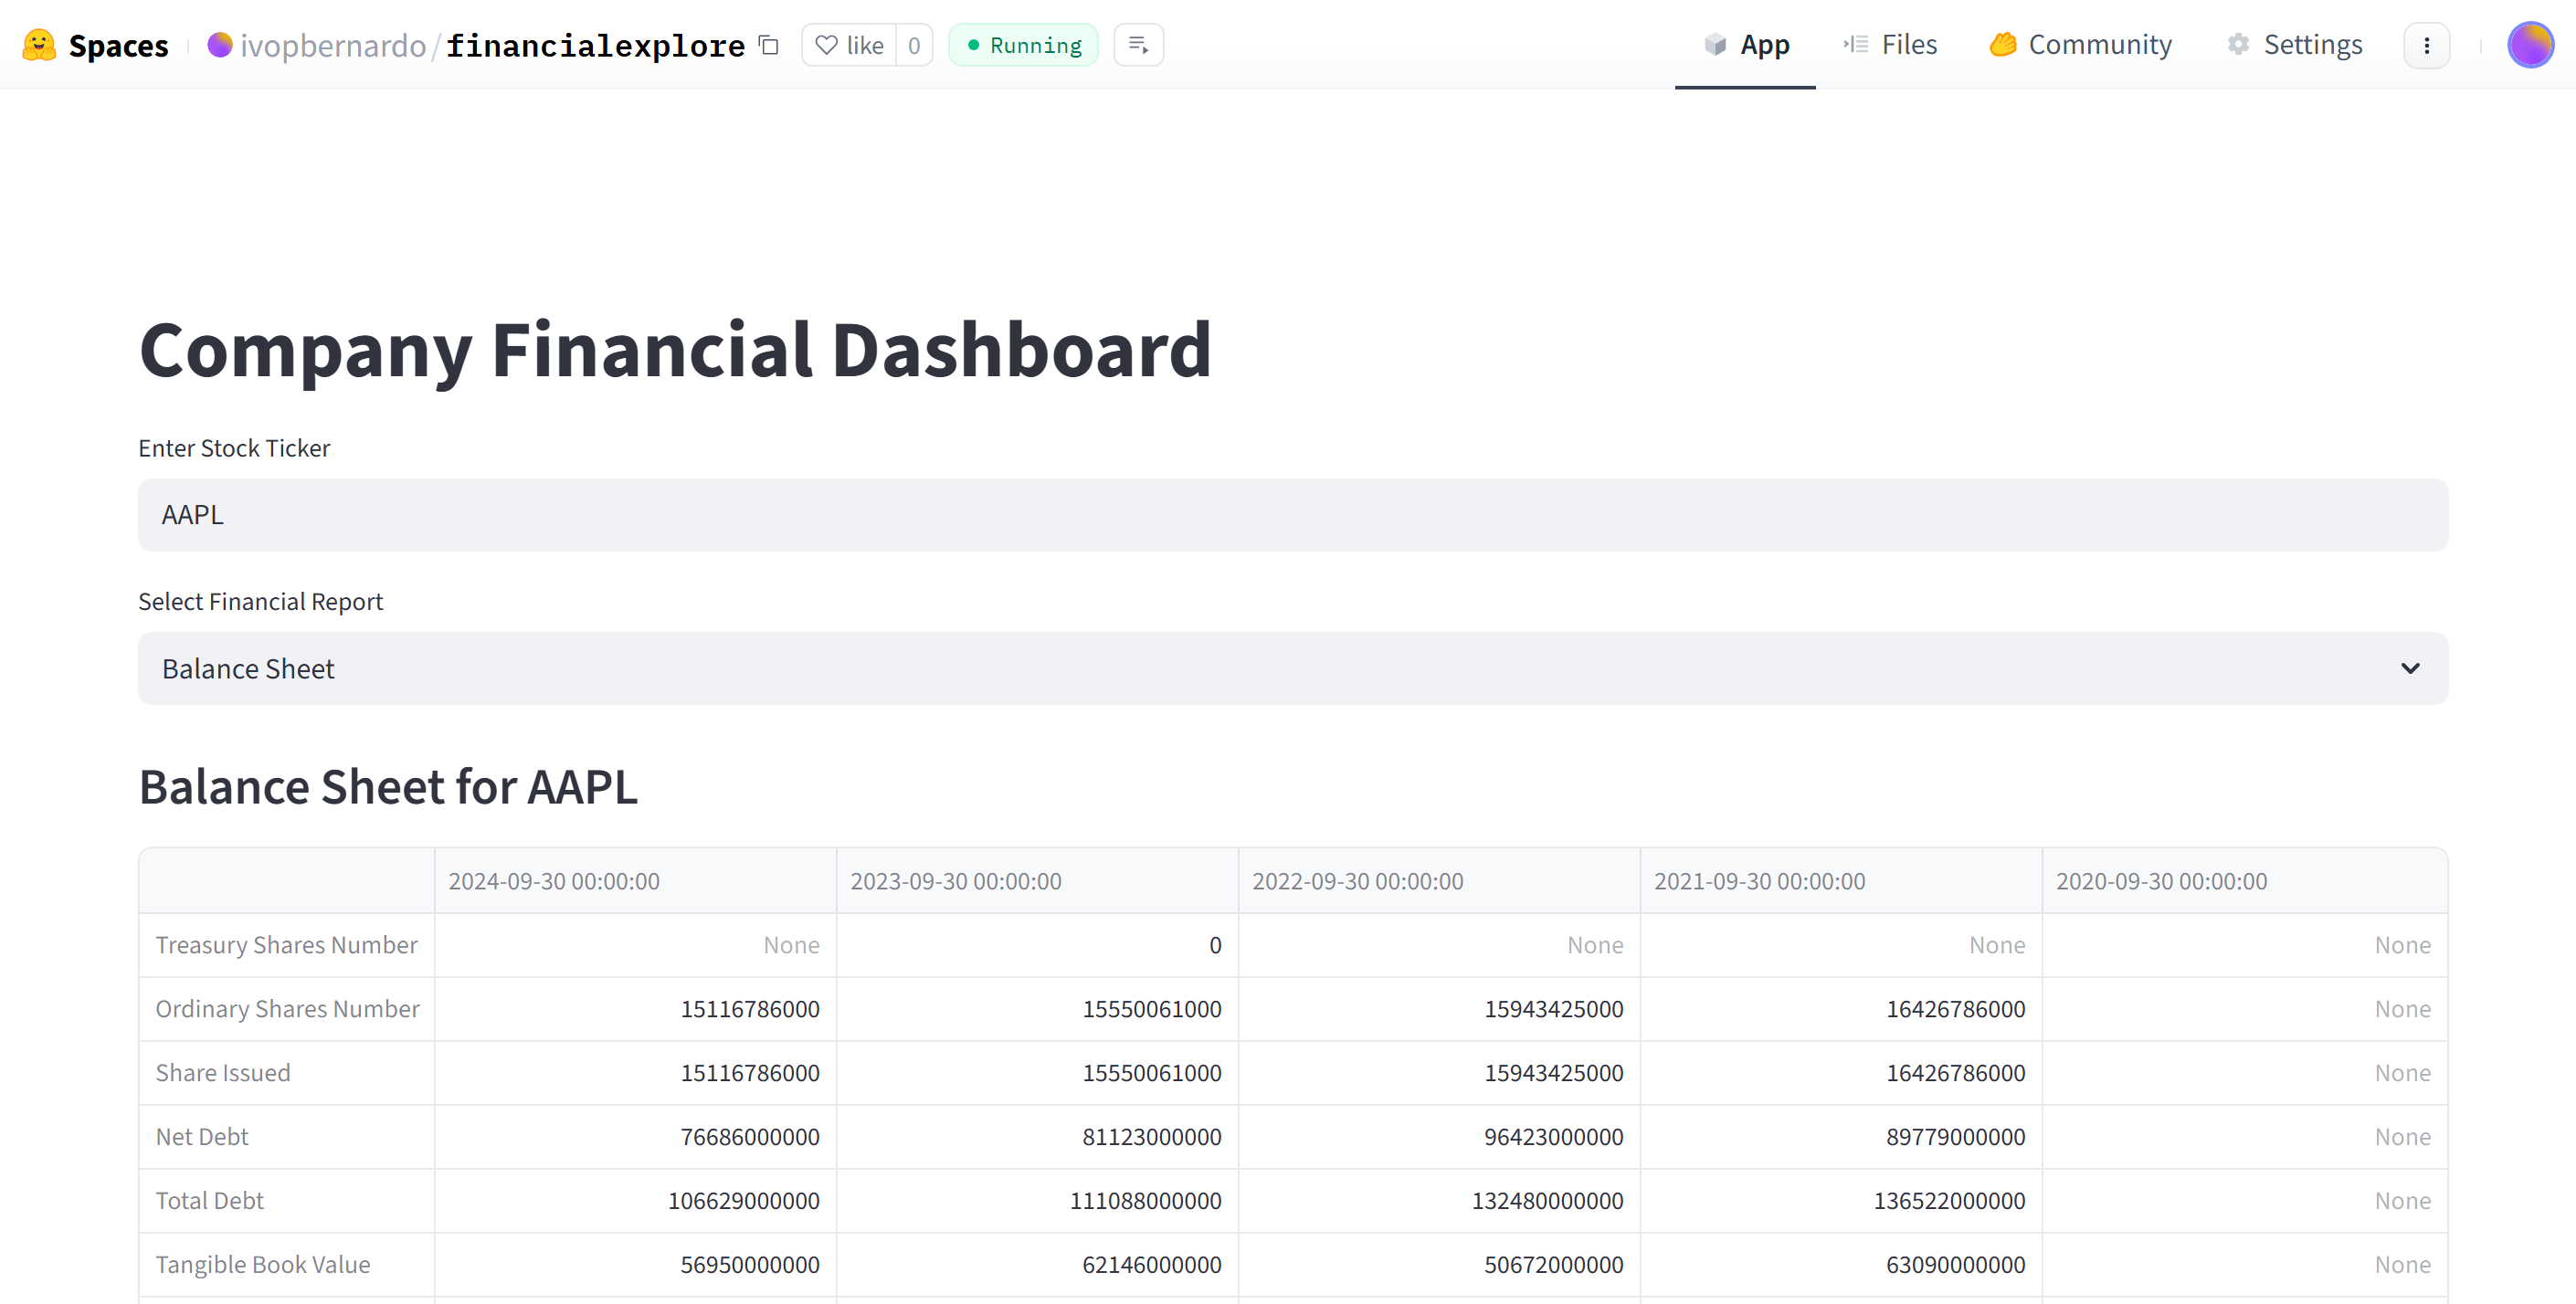
Follow this link to see it live.
If you want to showcase your work or share your ideas, Hugging Face Spaces is one of the easiest and most effective ways to do it. You can start small with a single file, or build something more ambitious. The platform takes care of the hosting, so you can focus on building and sharing.
Don’t be afraid to experiment and play around. Even a simple demo can become the start of your own project portfolio. Feel free to share your apps in the comments of this post!